
 Español
 عربى
عربى

The Role of Strut Mounts in Mercedes-Benz and BMW: Common Failure Signs and Solutions
Content
- 1 Anatomy of a Front Strut Mount Assembly
- 2 Early Warning Signs Versus Advanced Failure
- 3 Why Front Strut Mounts Fail
- 4 How Failure Probability Changes With Mileage
- 5 Diagnosing a Suspected Strut Mount Problem
- 6 Strut Mount Considerations on Mercedes-Benz Platforms
- 7 Strut Mount Considerations on BMW Platforms
- 8 What Drives BMW Strut Mount Replacement Cost
- 9 Extending the Service Life of a New Mount
- 10 Frequently Asked Questions
A worn strut mount rarely announces itself with a single obvious symptom. Instead, it shows up as a faint knock over speed bumps, a slightly looser feel through the steering wheel, or a noise that only appears when the front wheels are turned close to full lock. Because the part sits at the top of the suspension tower, hidden under trim panels and sound insulation, many drivers live with a failing mount for months before connecting the dots. Understanding how this component works, what actually wears out inside it, and how the symptoms progress makes it far easier to catch the problem early and avoid secondary damage to the strut, the tower, and the surrounding bushings.
This guide walks through the anatomy of a strut mount assembly, the mechanical reasons these parts fail, how symptoms differ between early and advanced stages of wear, and what typically drives the cost of replacement. The goal is practical: recognizing the pattern of noises and handling changes early enough that a routine replacement stays routine.
Anatomy of a Front Strut Mount Assembly
A strut mount, sometimes called a top mount or spring mount depending on the vehicle platform, sits at the point where the strut and coil spring connect to the body of the car. It performs three jobs at once: it carries the weight transmitted through the spring, it isolates road vibration from the cabin through a bonded rubber element, and it allows the entire strut assembly to rotate smoothly as the steering wheel is turned. That last function depends on an internal thrust bearing, which is the component most closely associated with clunking noise when turning once it starts to wear.
The assembly typically includes a stamped or cast upper plate that bolts to the strut tower, a molded rubber isolator bonded between two metal plates, a thrust bearing race that permits rotation, a dust boot or seal to keep contaminants out, and in many designs a separate upper spring seat that centers the coil spring. On performance-oriented platforms common to German executive and luxury sedans, this assembly is also tuned for a specific spring rate and geometry, meaning the mount is not a generic part but one matched to the suspension tuning of that model line.
Early Warning Signs Versus Advanced Failure
Strut mount wear tends to progress in a fairly predictable order. The first stage is usually acoustic: a light tapping or knocking heard only on rough pavement, most noticeable at low speed. The second stage introduces steering-related noise, including a distinct clunk when turning the wheel from a stop, which points to the thrust bearing losing its smooth rotation. The third stage brings handling changes, such as a looser or vaguer steering feel, increased body lean in corners, and occasionally uneven front tire wear as camber and caster settle out of specification.
The radar comparison below illustrates how five common symptom categories differ in intensity between an early-stage mount issue and an advanced one. Noise and steering feel tend to move first, while tire wear and vibration transmission usually only become noticeable once the mount has deteriorated significantly.
| Stage | Typical Sound | Steering Behavior | Ride Quality |
|---|---|---|---|
| Early | Light tap over bumps | Normal | Slightly firmer |
| Moderate | Clunk when turning | Minor looseness | Noticeable knock |
| Advanced | Continuous clunk and grind | Vague, delayed response | Harsh, uneven |
Why Front Strut Mounts Fail
Strut mounts are a wear item rather than a defect-prone one, but the pace of wear depends heavily on climate, driving surface, and maintenance history. Rubber isolators harden and crack with age and heat cycling, thrust bearings lose lubrication and develop pitting, and road salt or moisture intrusion accelerates corrosion at the mounting plate and bearing race. Aggressive pothole impacts can also compress or tear the rubber element well before its expected service interval.
Improper installation torque deserves particular attention because it is preventable. A mount that is under-torqued can shift slightly under load, accelerating rubber fatigue and bearing wear well before the part reaches the end of its normal service life. Over-torquing, by contrast, can pre-load and crack the rubber isolator immediately. Following the specified tightening sequence and torque value during replacement materially extends the life of the new part.
How Failure Probability Changes With Mileage
Because strut mounts wear gradually, failure probability rises in a fairly consistent curve rather than appearing suddenly. Vehicles driven on rough urban roads or in regions with heavy winter road treatment tend to track toward the higher end of this curve, while highway-dominant driving on smoother surfaces tends to track lower.
The steepest rise in probability generally falls between 90,000 and 150,000 miles, which lines up with when the bonded rubber has typically absorbed a decade or more of heat cycling and the thrust bearing has lost most of its original lubrication film. Vehicles used for frequent short trips in stop-and-go traffic, where full steering lock is used often for parking, tend to reach the steeper part of the curve earlier because the bearing sees more full-rotation cycles per mile driven.
Diagnosing a Suspected Strut Mount Problem
Because top mount noise can resemble other suspension issues, including worn sway bar links or a failing strut bushing, a structured diagnostic sequence avoids misdiagnosis and unnecessary parts replacement. The flow below outlines the general order technicians follow when a customer reports clunking or looseness near the front suspension.
The full-lock steering test with the engine off is particularly useful because it isolates the bearing from engine vibration and power steering assist noise, making a worn thrust bearing much easier to hear. A mechanic will typically also grip the top of the strut through the engine bay and apply light rotational force by hand to feel for grinding or notchy resistance, which indicates the bearing race has lost its smooth ball or roller path.
Strut Mount Considerations on Mercedes-Benz Platforms
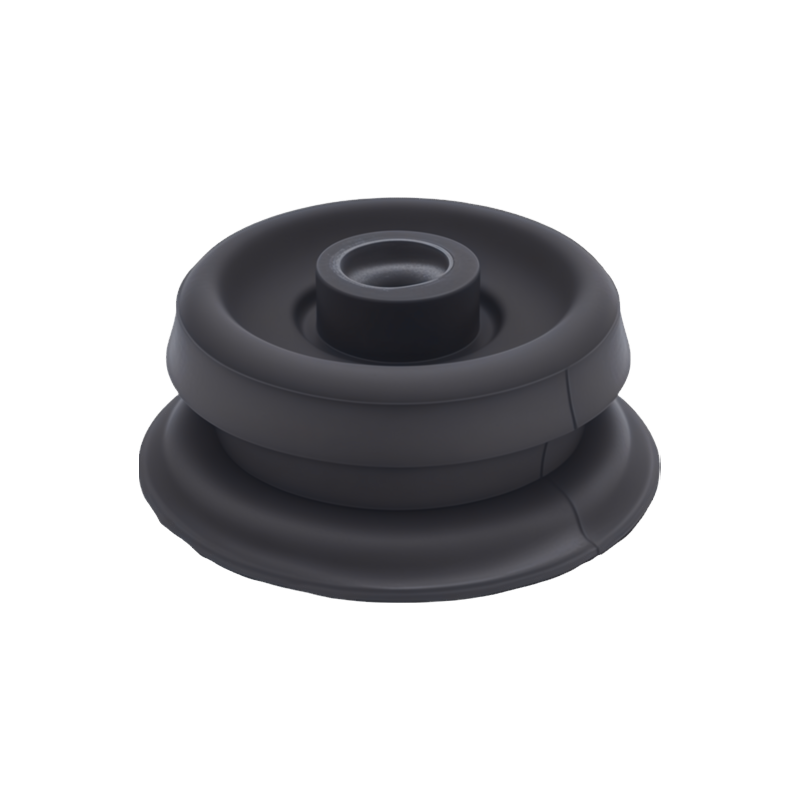
On many Mercedes-Benz sedan and SUV platforms, the front Mercedes-Benz spring mount integrates the upper spring seat directly into the mount body, which means the part also plays a role in maintaining correct spring alignment. When the rubber isolator sags or the bearing binds, it is common to see a subtle change in ride height or a slight offset in how the spring seats against its perch, in addition to the usual noise symptoms. Because these platforms often use air suspension or adaptive damping on higher trim levels, a compromised mount can also introduce inconsistent readings from ride height sensors positioned nearby, which is worth ruling out during diagnosis before assuming a sensor fault.
Replacement on these platforms typically requires a spring compressor to safely relieve spring tension before the mount can be removed, along with attention to correct orientation of the upper plate relative to the strut tower bolt pattern, since several variants use an asymmetric bolt layout that only fits one way.
Strut Mount Considerations on BMW Platforms
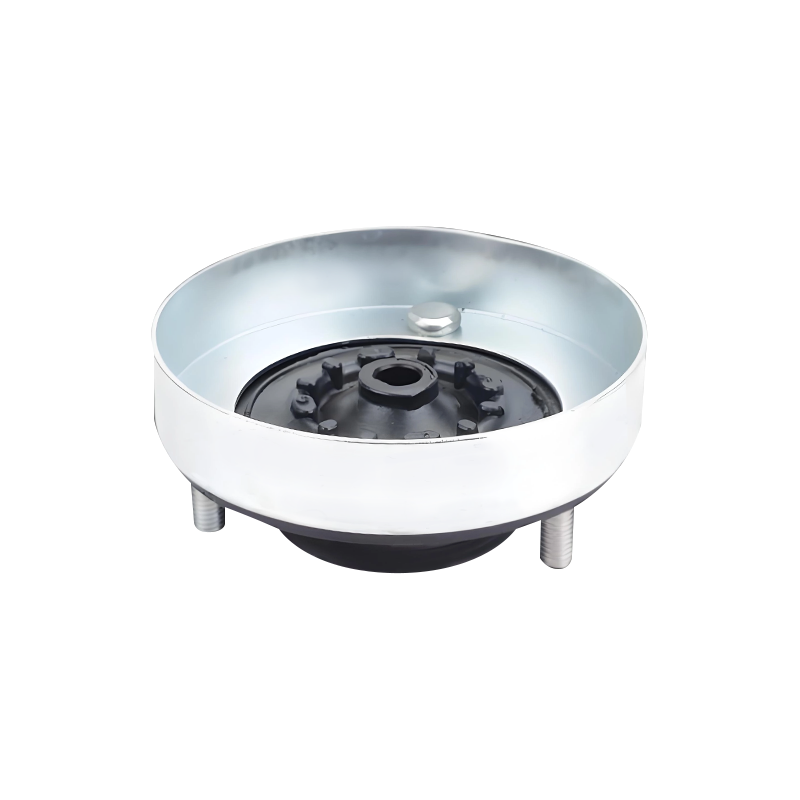
BMW platforms are known for a relatively direct, communicative steering feel, which makes wear in the front top mounts noticeable earlier than on softer-tuned vehicles. A degraded mount here often shows up first as a subtle vagueness on center, rather than an obvious clunk, because the bearing's added rotational resistance transmits through the steering rack before it becomes loud enough to hear over road noise. Once the rubber isolator itself begins to fail, drivers commonly describe a knocking sensation felt through the steering column during low-speed direction changes, distinct from the door-slam type clunk associated purely with bearing wear.
The suspension strut bearing used across several BMW model lines is a sealed, non-serviceable unit, meaning the entire mount assembly is replaced as one part rather than the bearing alone. This design simplifies replacement labor but means any bearing-specific wear still requires full mount replacement.
What Drives BMW Strut Mount Replacement Cost
Replacement cost is shaped by four main factors: the part itself, labor time, whether an alignment is needed afterward, and any diagnostic time spent confirming the mount as the root cause rather than a related component. Labor time varies with how accessible the strut tower is and whether the spring must be fully compressed and removed or can be worked around in place.
An alignment is generally recommended after any front strut mount replacement because the upper spring seat orientation directly affects camber and caster settings. Skipping this step can leave a car technically repaired but still pulling to one side or wearing tires unevenly, which undermines the value of the repair itself.
| Cost Component | Typical Range | Notes |
|---|---|---|
| Mount assembly, per side | Moderate | Higher on platforms with integrated spring seats |
| Labor | Moderate to high | Varies with spring compression complexity |
| Alignment | Low to moderate | Recommended after replacement |
| Diagnostics | Low | Often waived if mount confirmed on first inspection |
Extending the Service Life of a New Mount
- Confirm the installer torques the top nut to the specified value in the correct sequence
- Avoid repeated full-lock parking maneuvers immediately after installation while the bearing seats
- Have the alignment checked within the first several hundred miles of driving
- Inspect the dust boot periodically, since a torn boot allows contamination that shortens bearing life
- Address any related worn components, such as sway bar links or lower control arm bushings, at the same time to reduce uneven load on the new mount
Frequently Asked Questions
Q1: What does a bad strut mount sound like?
A failing mount most often produces a knocking or clunking sound over bumps, and a distinct clunk when turning the steering wheel at low speed, particularly from a stopped position.
Q2: Can a worn strut mount cause uneven tire wear?
Yes, in advanced stages. Once the rubber isolator sags or the upper spring seat shifts, camber and caster can drift out of specification, leading to uneven wear across the front tires.
Q3: Is it safe to keep driving with a noisy strut mount?
Short term, yes, but continued driving allows accelerated wear of the strut body, spring seat, and surrounding bushings, which can turn a single-part repair into a more involved one.
Q4: How long does a strut mount replacement take?
A single side typically takes between one and two hours of labor, depending on spring compression requirements and how accessible the strut tower is on that platform.
Q5: Should both sides be replaced at the same time?
Most technicians recommend replacing both front mounts together, since they experience similar mileage and load history, and doing one side alone often leads to a second repair visit soon after.
Recommended Products
-
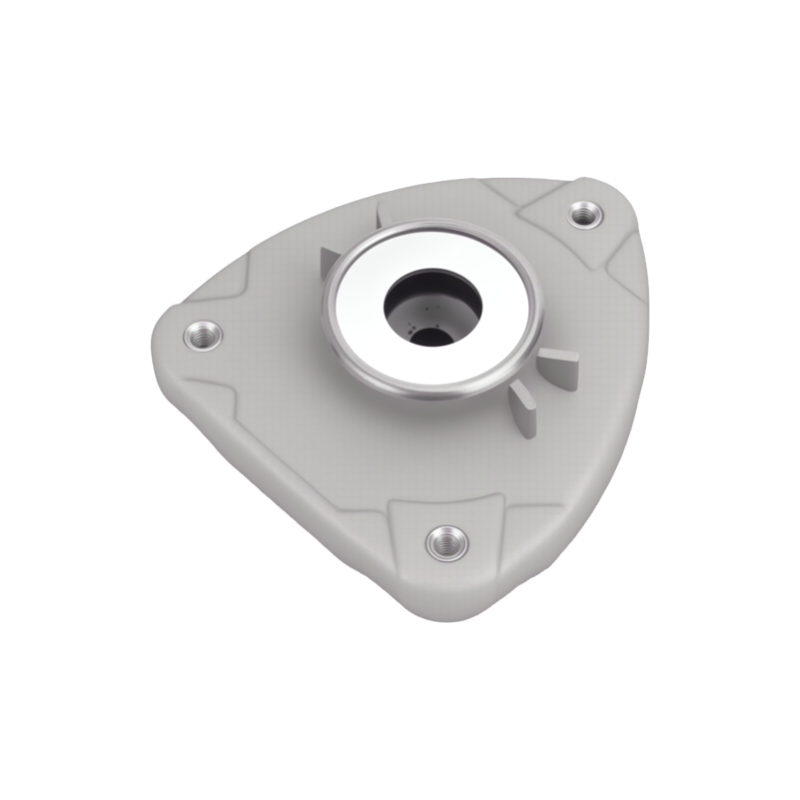


Mercedes-Benz W246 B-Class Front Strut Mount Bearing Kit
-
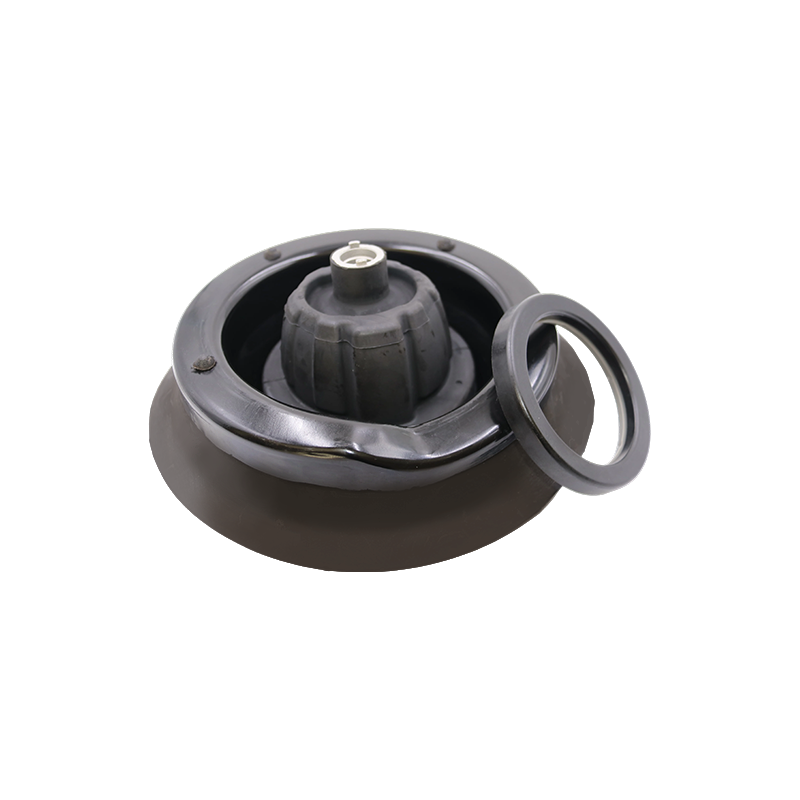
Mercedes-Benz C-Class / CLK-Class Strut Mount Bushing
-
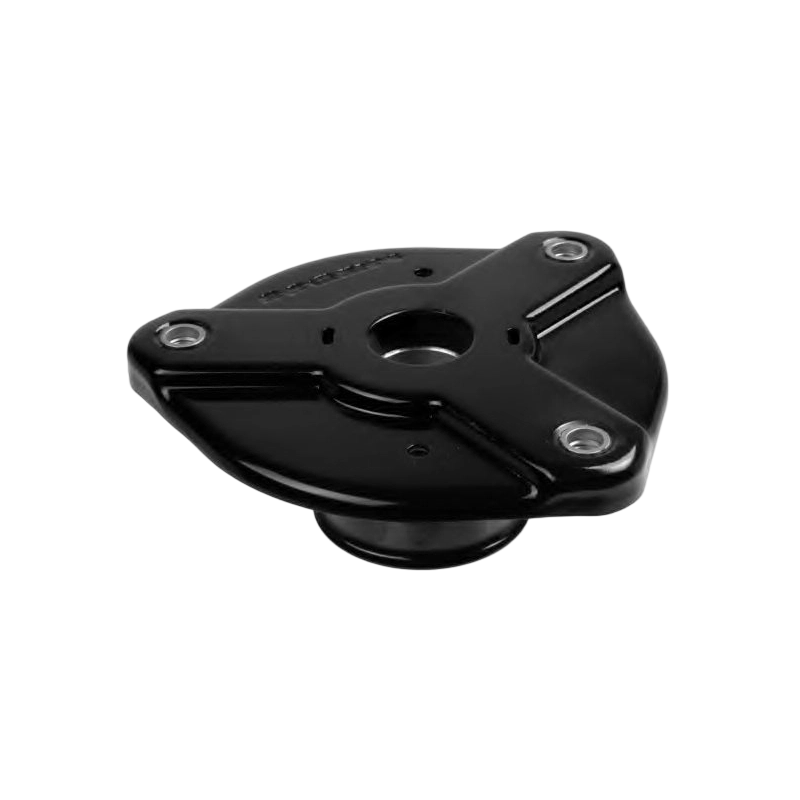
Mercedes-Benz Vito Viano Shock Absorber Top Mount Bearing
-
Mercedes-Benz Sprinter 2-t/3-t Series Shock Absorber Top Mount
-
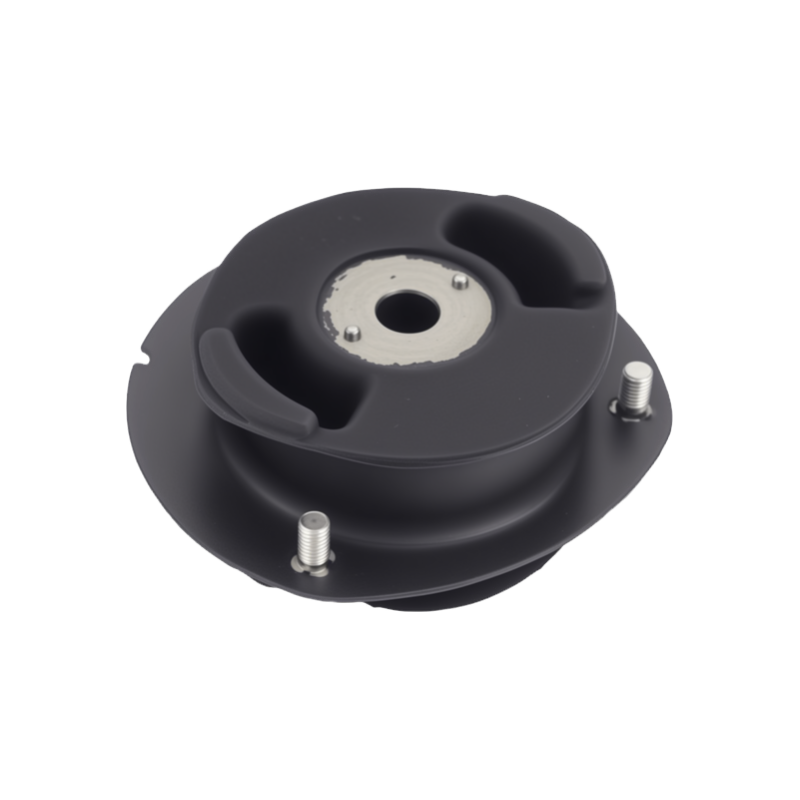
Mercedes-Benz W201 Front Strut Mount
-
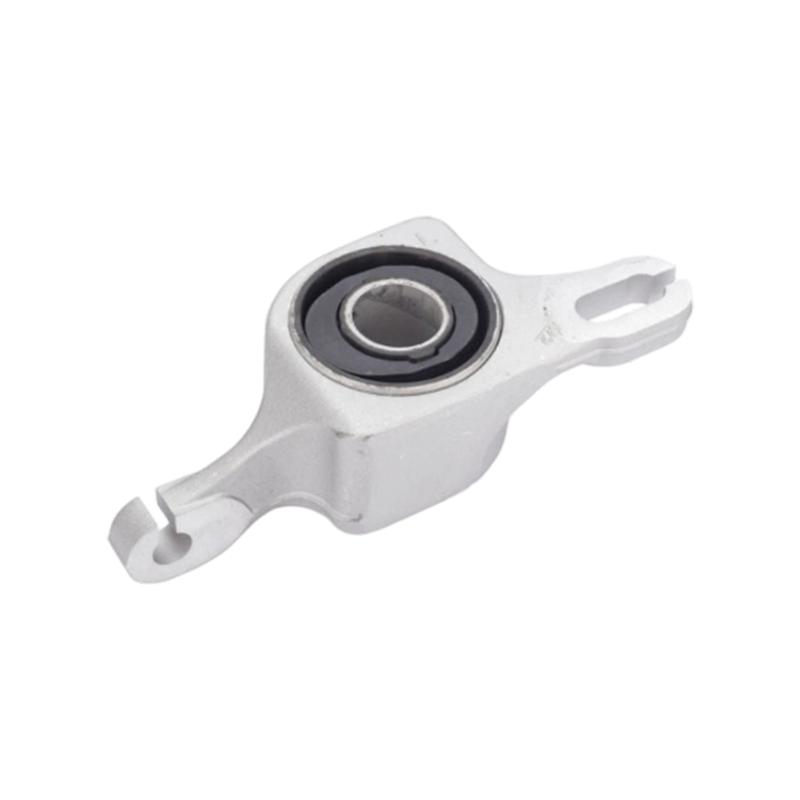
Mercedes-Benz GL Class Front Lower Control Arm Bushing
Recommended News
-
Upgrading Your BMW & Mercedes-Benz Suspension: Why Strut Mounts and Bushings Matter for Handling
-
A Comprehensive Sourcing Guide for Mercedes-Benz and BMW Suspension Bushings and Strut Mounts
-
Symptoms of Worn Mercedes-Benz & BMW Suspension Bushings: When Is It Time for a Replacement?
-
What are the benefits of BMW chassis system?
- Address : Yihuang line, Ningguo Economic and Technological Development Zone. Xuancheng City,Anhui Province.
- Fax : +86 13906874997
- Tel: +86-15856310524
- Email: [email protected]
Copyright © ANHUI LIANJUN RUBBER TECHNOLOGY CO., LTD.
All Rights Reserved.
Wholesale Automotive Suspension Parts Suppliers
