
 Español
 عربى


Causes of Driveshaft Center Bearing Wear: Practical Applications, Selection, Performance
Content
- 1 The Short Answer: Ranked Causes of Center Support Bearing Wear
- 2 Cause 1: Driveshaft Imbalance and Runout
- 3 Cause 2: A Cracked Flex Disc or a Binding U-Joint
- 4 Cause 3: Collapsed Engine and Transmission Mounts Move the Angles
- 5 Cause 4: Heat, Oil, and Time Against the Rubber Element
- 6 Cause 5: Installation Errors and Missing Preload
- 7 Matching Symptoms to the Real Cause
- 8 Choosing a Replacement That Survives
- 9 Frequently Asked Questions
A warranty-returned center support bearing seldom arrives with a seized ball bearing. Open the box and you usually find a bearing that still spins smoothly, sitting inside a rubber ring that is split, swollen, or separated from its steel shell. That single detail explains most of the failures reported on Mercedes-Benz and BMW drivelines: the bearing is the messenger, not the cause.
The rubber element exists to absorb a few degrees of driveline movement and isolate torque and road vibration. When something upstream adds imbalance, misalignment, or heat, that rubber pays the price first. Here are the causes worth checking, in the order they usually turn out to be responsible.
The Short Answer: Ranked Causes of Center Support Bearing Wear
If you want the one-line diagnosis, it is worn rubber rather than worn steel. In teardown practice, the causes rank roughly like this:
- Driveshaft imbalance or runout — the single most common cause on two-piece shafts past 100,000 km.
- A failing flex disc or a binding U-joint — sends torsional shock and angular movement down the shaft.
- Collapsed engine or transmission mounts — change driveline angles and hold the shaft in permanent deflection.
- Heat and oil contamination — soften or swell the rubber until the bond line tears.
- Installation errors — no preload, hammered bearing, wrong bracket orientation.
- Age and overload — normal fatigue, accelerated on vans and towing vehicles.
A center support bearing replaced without correcting the cause typically comes back within 10,000 to 30,000 km. Diagnose the driveline, not just the part.
Cause 1: Driveshaft Imbalance and Runout
A two-piece driveshaft spins several times faster than the wheels, so even a small imbalance becomes a once-per-revolution oscillation that flexes the rubber isolator thousands of times per minute. The rubber heats up, the vulcanized bond at the steel shell starts to give, and the shaft begins to orbit inside its bracket.
Common sources are a missing balance weight, a dent from a road hazard, a dry slip spline, or undercoating and mud baked onto one side of the tube. The two-piece shaft used on the BMW X5 E53 is a typical example: the fault usually shows up as a drone that builds between 60 and 90 km/h.
 BMW X5 E53 Driveshaft Center Support BearingFor BMW X5 E53 drivetrain vibration and drone checks, this center support bearing matches OE 26121229726 and 26127507740 with a 30mm inner diameter.View Product →
Measure runout with a dial indicator at the middle of each shaft section. Around 0.010 in (0.25 mm) is the practical limit; anything more belongs on a balancing machine, not back in the car.
Cause 2: A Cracked Flex Disc or a Binding U-Joint
The flex disc at the transmission output flange is the driveline's first shock absorber. Once its cords fray or the rubber cracks through, the shaft stops rotating on a true axis and whips slightly with every torque reversal. That movement lands directly on the center support bearing.
Inspect the disc for cracks that reach the fabric, missing chunks, and stretched bolt holes. Fine surface crazing alone is normal on an older disc; visible cords are not. Then check each U-joint by hand — it should pivot smoothly through its full range with light, even resistance. A joint that feels notchy or has radial play is loading the center bearing even if it is not yet noisy.
 BMW 3/5/6 Series Driveshaft Flex Disc DamperFor BMW driveshaft flex-disc inspection, this damper matches OE 26112282573 and measures 150 x 110 x 56 x 41 mm.View Product →
When you fit a new disc, follow the tightening sequence and torque values for the flange bolts, and make sure the arrows molded into the rubber point at the flange lugs. A disc installed the wrong way round is pulled apart by the first hard acceleration.
Cause 3: Collapsed Engine and Transmission Mounts Move the Angles
Engine and transmission mounts sag long before they tear. A mount that has dropped 5 mm at the transmission tail changes the angle of the front shaft section, so the center bearing holds the shaft in a permanent deflection instead of a neutral position. One side of the rubber stays compressed and fails well before its mileage suggests it should.
Working angle targets
On most two-piece drivelines, each U-joint working angle should sit between roughly 0.5 and 3 degrees, and the angles at either end of a shaft section should cancel each other within about half a degree. Measure with an inclinometer at the transmission output flange, both shaft sections, and the pinion flange, with the car at ride height.
If the transmission mount is sagging, replace it first. Otherwise the new rubber starts its life preloaded in the wrong direction.
Cause 4: Heat, Oil, and Time Against the Rubber Element
The center support bearing sits close to the exhaust and to the transmission tail seal, which is the worst neighborhood for a bonded rubber part. Heat accelerates aging; oil and fluid cause swelling and loss of stiffness. A rubber ring that looks wet, feels tacky, or has visibly grown is a contamination failure, and the leak must be fixed first.
Compound choice matters here. Natural rubber and EPDM resist ozone well but swell badly in oil, while nitrile and HNBR blends tolerate fluid contact far better. Where a leak has gone unchecked for years, a fluid-resistant isolator is worth the small price difference. How rubber shock absorbers work explains the damping-versus-durability trade-off.
Cause 5: Installation Errors and Missing Preload
Two workshop mistakes account for a large share of premature replacements.
- No preload. Many brackets are slotted so the bearing can be pushed a few millimetres toward the front of the vehicle, commonly 3 to 6 mm, before the bracket bolts are tightened. That offset places the rubber in its neutral position under normal forward torque. Skip it and the isolator is stretched or compressed from the first kilometre.
- Hammering the bearing. A center bearing should be pressed or driven with a proper driver on the outer race, with the dust shield and circlip fully seated. Impact damage to the race shows up as a growl long before the rubber wears out.
Bracket orientation and shims matter just as much. Reversing the bracket or leaving out a shim changes the shaft angle and turns a correct part into a repeat failure.
Matching Symptoms to the Real Cause
Use the symptom pattern first, then confirm with a measurement. The table below maps the common complaints to the checks that separate one cause from another.
| Symptom | Most likely cause | Check to confirm |
|---|---|---|
| Vibration building from about 60 km/h, strongest under load | Driveshaft imbalance or runout | Balance weights, dents, runout with a dial indicator |
| Clunk when engaging gear from a standstill | Flex disc or U-joint | Frayed cords, notchy joint movement |
| Vibration at a fixed speed that changes when you lift off | Worn mounts or driveline angle | Inclinometer readings at ride height |
| Rubber swollen, tacky, or wet to the touch | Oil contamination | Transmission output and rear main seals |
| Replacement noisy again within 20,000 km | Installation or preload error | Preload direction, bracket shims, bearing seating |
| Constant growl at all speeds | Bearing, differential, or wheel bearing | Neutral coast road test to isolate the source |
Choosing a Replacement That Survives
Buy the complete assembly — bracket, bonded rubber isolator, sealed bearing, dust shield — rather than pressing a new bearing into an old rubber ring. The rubber-to-steel bond carries the load, and no workshop can restore it.
Match the part to the chassis code on the vehicle rather than the model name, because platforms that share a badge often use different shaft diameters and bearing offsets. A center support bearing for a Mercedes-Benz W203 is not interchangeable with the unit used on later C-Class generations, even though both are sold under similar descriptions.
 Mercedes-Benz W203 S203 Driveshaft Center Support BearingFor W203/S203 chassis matching, this driveshaft support bearing fits C-Class and estate models and lists OE 2034101981 and 2034101981S1.View Product →
Two details are worth confirming before committing to a batch: the rubber should be vulcanized to the steel shell rather than pressed in as a loose insert, and the bearing should be a sealed, lifetime-greased unit. If a fleet keeps failing at the same position, ask for the compound and durometer; a slightly stiffer isolator trades a little comfort for longer life on loaded vans.
Lianjun Rubber makes center support bearings, flex discs, and other NVH rubber-to-metal parts for Mercedes-Benz and BMW chassis codes, with free samples for evaluation and support from quotation through after-sales. See how the service process works if you want to evaluate a sample before ordering.
Frequently Asked Questions
Q1: How long should a driveshaft center support bearing last?
On Mercedes-Benz and BMW passenger cars, 100,000 to 160,000 km is normal when the driveline is healthy. On loaded vans such as the Sprinter or Vito, expect considerably less, often 60,000 to 100,000 km.
Q2: Is a little movement at the center bearing normal?
Yes. A new rubber isolator deflects a few millimetres by hand, and that deflection is the part doing its job. What matters is torn rubber, a visible gap between the rubber and the steel shell, or the shaft touching the bracket.
Q3: Can I replace only the rubber or only the bearing?
No. The assembly is bonded and the bearing is staked into its housing. Replacing the bearing alone leaves aged rubber in place, which is usually the part that failed.
Q4: Does the driveshaft need rebalancing after the repair?
If you mark the flanges and reassemble them in the original orientation, rebalancing is usually unnecessary. If the shaft was split at the slip spline, a U-joint was replaced, or vibration remains, send the shaft to a balancing shop.
The pattern behind nearly every center bearing claim is the same: a part that failed because a small driveline fault was left alone for too long. Check the angles and the flex disc, stop the leak, set the preload, and the replacement will last the way the original did.
Recommended Products
-


Driveshaft Flex Disc Kit for Mercedes Benz W201 & W124
-

Driveshaft Flex Disc Kit for Mercedes-Benz W210 S202
-

Driveshaft Flex Disc Coupling for Mercedes-Benz C-Class
-

Driveshaft Flex Disc Kit for Mercedes W203 C-Class
-

Driveshaft Flex Coupling Disc Kit for Mercedes Sprinter
-
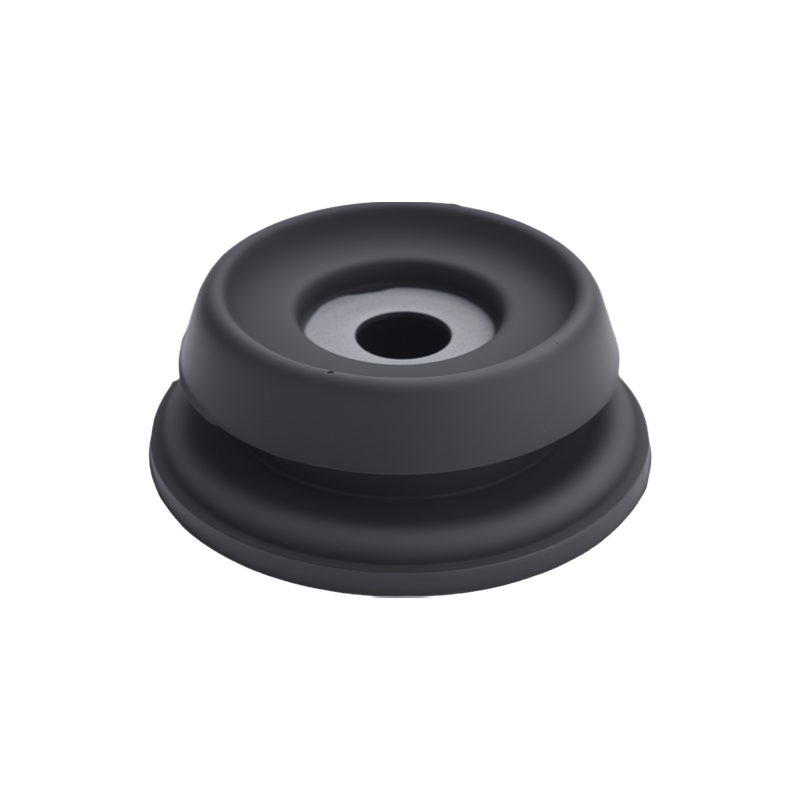
Suspension Strut Support Bearing for Mercedes-Benz 903 Series
Recommended News
- Address : Yihuang line, Ningguo Economic and Technological Development Zone. Xuancheng City,Anhui Province.
- Fax : +86 13906874997
- Tel: +86-15856310524
- Email: [email protected]
Copyright © ANHUI LIANJUN RUBBER TECHNOLOGY CO., LTD.
All Rights Reserved.
Wholesale Automotive Suspension Parts Suppliers
