
 Español
 عربى


How to Inspect a Driveshaft Center Bearing: Step-by-Step Guide for Shops
Content
Why the Center Bearing Should Be on Your Inspection List
A customer reports a low-frequency vibration that starts around 55 mph and fades above 75. The U-joints feel tight, the flex disc shows only minor cracking, and the wheel bearings check out. When you move further back, the real problem is often the driveshaft center bearing. The center support bearing splits the driveshaft into two sections on longer vehicles, supporting the shaft near its midpoint and isolating vibration through a rubber dampening element. When that bearing wears or the rubber hardens, the shaft loses support and produces symptoms that are easy to mistake for other driveline problems.
The practical conclusion is straightforward: inspect the center bearing before ordering universal joints, flex discs, or wheel parts. A ten-minute visual and load check will tell you whether the part is still doing its job.
What You Need Before You Start
Center bearing inspection is not a complex procedure, but the result depends on how you set up the vehicle and where you look.
- Raise the vehicle securely. A two-post lift with the wheels hanging is fine for the visual and manual checks. For a loaded driveline angle check, use a drive-on ramp or lower the vehicle onto stands.
- Gather a work light, pry bar or large screwdriver, mechanical stethoscope, marker, and optionally a dial indicator with magnetic base.
- Wear gloves and eye protection. Keep hands and tools away from the driveshaft whenever the engine is running or the wheels are being turned.
- Make sure the driveshaft is cool and clean enough to inspect rubber without oil or undercoating hiding cracks.
If the rubber is covered in oil or grease, clean it before judging its condition. Oil contamination can cause the rubber to swell and fail earlier than normal.
The Inspection Procedure in Four Steps
Use this sequence every time. It keeps the diagnosis repeatable and helps you show the customer what you found.
- Visual inspection of the rubber isolator and bracket. Shine a light along the center support. Look for deep cracks, hardening, rubber separation from the metal sleeve, bulging, or chunks missing. The bracket should sit square to the shaft, and the mounting bolts should be tight. A cracked or detached rubber isolator is an automatic fail.
- Manual load test. Grasp the driveshaft near the center bearing and push up, then down. Watch the bearing housing and the rubber isolator. Some flex in the rubber is normal. If you see the bearing move against the shaft journal, or hear a metallic click, the bearing has excessive clearance.
- Dial indicator check for precision. When you need a number for the repair order, set a dial indicator against the bearing housing, pry gently with a pry bar, and record the movement. A practical fail threshold is about 3 mm (1/8 in) at the housing. If the movement is greater, replace the complete center support assembly.
- Rotate and listen. Put the transmission in neutral, support the shaft, and rotate the rear section by hand. A good bearing should turn smoothly. Roughness, grinding, or clicking inside the bearing means contamination or brinelling. A mechanic’s stethoscope placed on the bracket will make the noise easier to locate.
What to record during the inspection
Note the position of the movement: rubber flex, bearing-to-shaft movement, or bracket movement. This tells you whether the issue is the isolator, the bearing, or the mounting studs. Repair shops that record this information avoid repeat comebacks.
How to Interpret What You Find
Not every crack means the part has to be replaced today. Use the table below to make a consistent call.
| Condition | Interpretation | Recommended Action |
|---|---|---|
| Hairline surface cracks | Early rubber aging; still functional | Recheck in about 15,000 km (10,000 miles) |
| Deep cracks or hardened rubber | Isolation performance lost | Replace complete assembly |
| Rubber separated from metal sleeve | Immediate structural failure | Replace before further driving |
| Bearing rough when rotated | Bearing wear or contamination | Replace center support |
| Bearing housing moves more than 3 mm under load | Excessive clearance in bearing or rubber | Replace center support and inspect shaft journal |
| Slight rubber flex with no metal-to-metal movement | Normal compliance | No action |
If you find a failed center bearing, also look at the driveshaft flex disc and the transmission mount. They fail under the same kinds of torque loads, and replacing only one part often leaves a vibration that the next technician has to find.
Replacement Considerations and Choosing the Right Part
Once the inspection points to a worn center support, replace it as a complete assembly rather than attempting to press out only the bearing. The rubber isolator, metal bracket, and bearing are designed as one unit; replacing only the bearing leaves aged rubber that will soon feel just as loose.
Confirm the vehicle’s chassis code, driveshaft diameter, and bracket mounting spacing. On a BMW 5 Series with a two-piece shaft, the center support uses a rubber-damped bracket that controls shaft movement under load. A matching direct replacement protects the transmission output shaft and the differential input from vibration.
 Driveshaft Center Support Bearing for BMW 5 SeriesPrecision-engineered replacement with OE numbers 26127564694/26128858475, built to reduce vibration and protect drivetrain components on two-piece shaft applications.View Product →
For Mercedes-Benz Sprinter 906 vans, the driving conditions are harder: longer shaft spans, higher payloads, and frequent stop-and-go work. The center support needs a reinforced rubber element to keep the shaft aligned under load.
 Reinforced Center Support Bearing for Mercedes-Benz Sprinter 906Heavy-duty bearing assembly matching multiple OE references, designed for long shaft spans and high payloads to keep the driveshaft aligned under demanding commercial use.View Product →
On a BMW X5 E53, the all-wheel-drive layout adds torque to the center bearing area. The rubber dampening element can fatigue faster than the bearing itself, so the visual check is especially important. Choose a chassis-specific assembly rather than a generic insert.
 Chassis-Specific Center Support Bearing for BMW X5 E53Direct-fit bearing for 2000-2006 X5 models, using wear-resistant rubber and alloy to damp vibration and improve drivetrain efficiency in all-wheel-drive setups.View Product →
Because center bearing wear can produce sounds similar to suspension bushing failures, it helps to compare the symptoms before pulling parts. A practical guide to worn suspension bushing symptoms, with examples from BMW and Mercedes applications, can help you separate driveline vibrations from chassis noise.
When the diagnosis is confirmed, order by OEM reference or exact dimensions. If you hear a clunk on acceleration or deceleration, also inspect the flex disc and transmission mount before final assembly.
Center Bearing Inspection FAQ
Q1: How much movement is acceptable in a driveshaft center bearing?
A small amount of rubber isolator flex is normal, especially when you push on a long shaft. If the bearing housing moves more than about 3 mm (1/8 in) relative to the bracket under moderate prying, or if you feel metallic movement between the bearing and shaft, replace the assembly.
Q2: Can I replace only the rubber cushion and keep the old bearing?
It is not recommended. The rubber cushion, bracket, and bearing work as a unit. If the rubber has gone bad, the bearing has usually been exposed to dirt, water, or excessive movement. Replacing the complete center support gives a predictable service life.
Q3: How often should a center bearing be inspected?
Include it in every driveline inspection or whenever a vehicle presents with vibration, a clunk on gear engagement, or a humming noise above 45 mph. In severe service, such as van or towing use, inspect every 50,000 miles or 80,000 km.
Order the Right Center Bearing Without Guessing
If your inspection confirms a failed center support, supply the vehicle’s chassis code, driveshaft diameter, and any OE reference from the old part. This reduces the chance of receiving a bracket with the wrong bolt spacing. We support repair shops, distributors, and export buyers with quick quotes and free sample requests.
Contact Our TeamRecommended Products
-
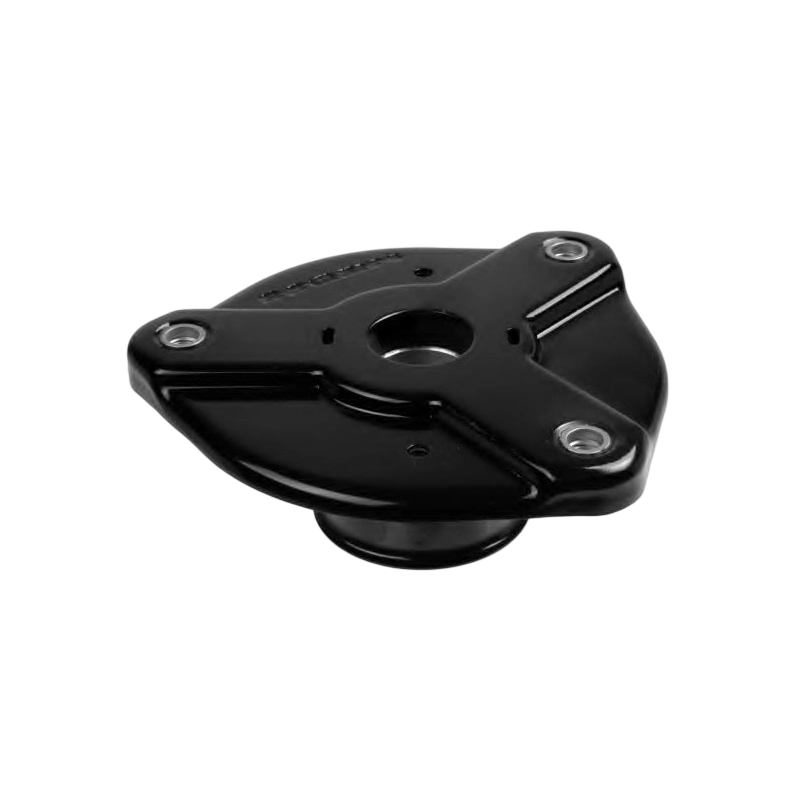


Mercedes-Benz Vito Viano Shock Absorber Top Mount Bearing
-
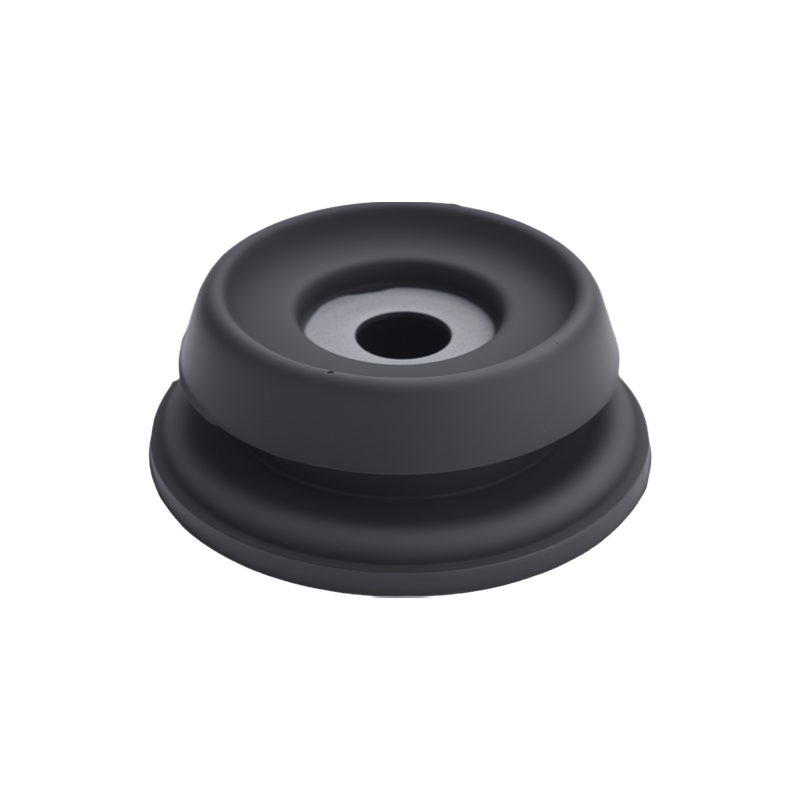
Suspension Strut Support Bearing for Mercedes-Benz 903 Series
-
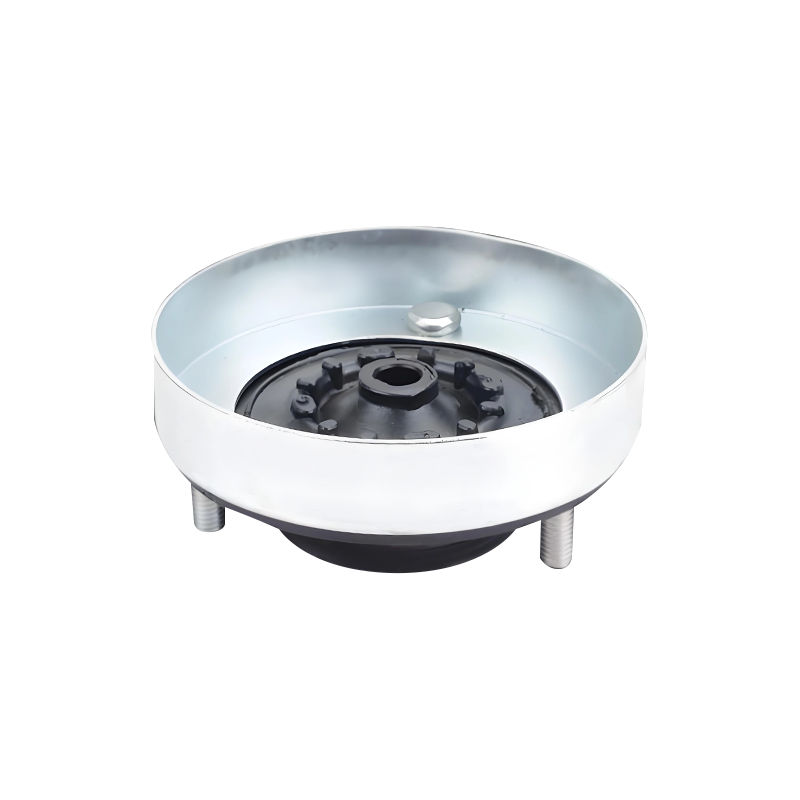
Rear Suspension Strut Support Mount for BMW 5 Series E34
-

Mercedes GLK 350 Strut Mounting Bearing Replacement Part
-
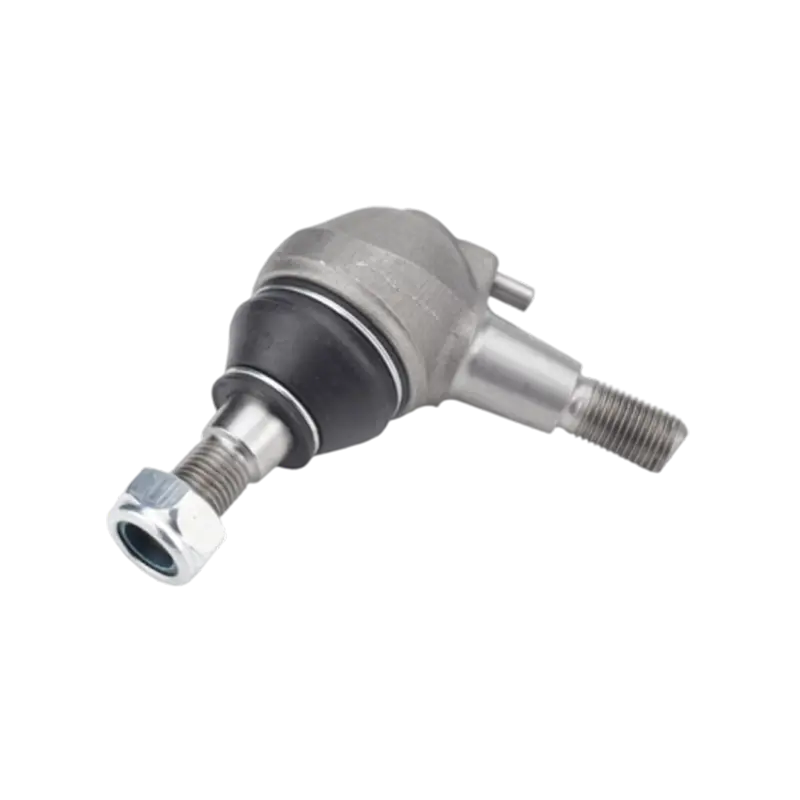
Front Lower Suspension Ball Joint for Mercedes C-Class W202
-
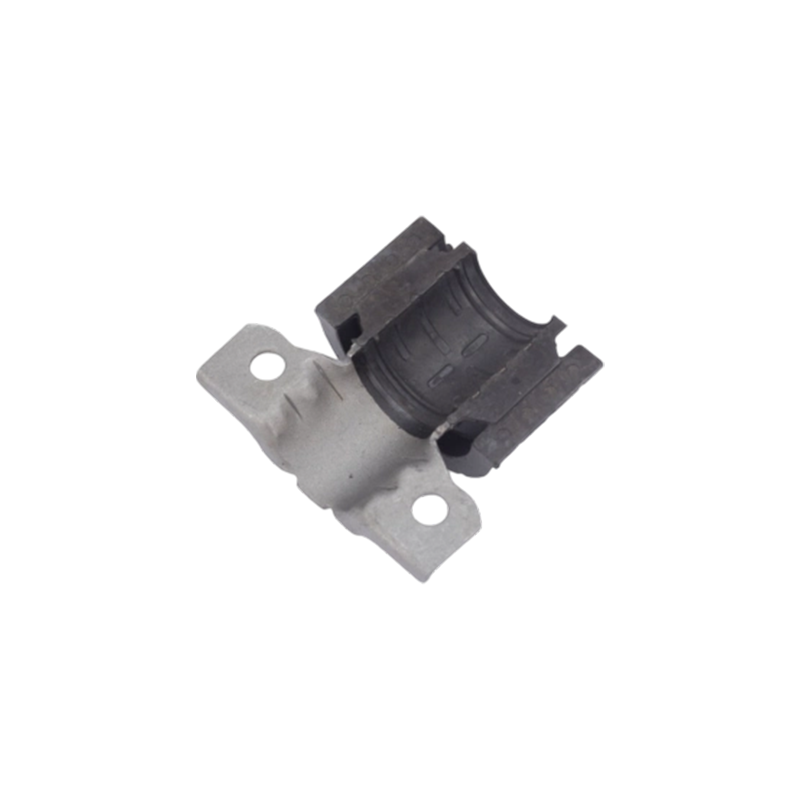
Anti-Roll Bar Bushing Suspension Part for Mercedes R-Class
Recommended News
-
Driveshaft Center Bearing Failure Symptoms: Diagnose Them Before Driveline Damage
-
Causes of Driveshaft Center Bearing Wear: Practical Applications, Selection, Performance
-
Center Bearing vs Carrier Bearing: Same Part, Different Name Explained
-
Working principle of rubber shock absorbers for automobiles?
- Address : Yihuang line, Ningguo Economic and Technological Development Zone. Xuancheng City,Anhui Province.
- Fax : +86 13906874997
- Tel: +86-15856310524
- Email: [email protected]
Copyright © ANHUI LIANJUN RUBBER TECHNOLOGY CO., LTD.
All Rights Reserved.
Wholesale Automotive Suspension Parts Suppliers
